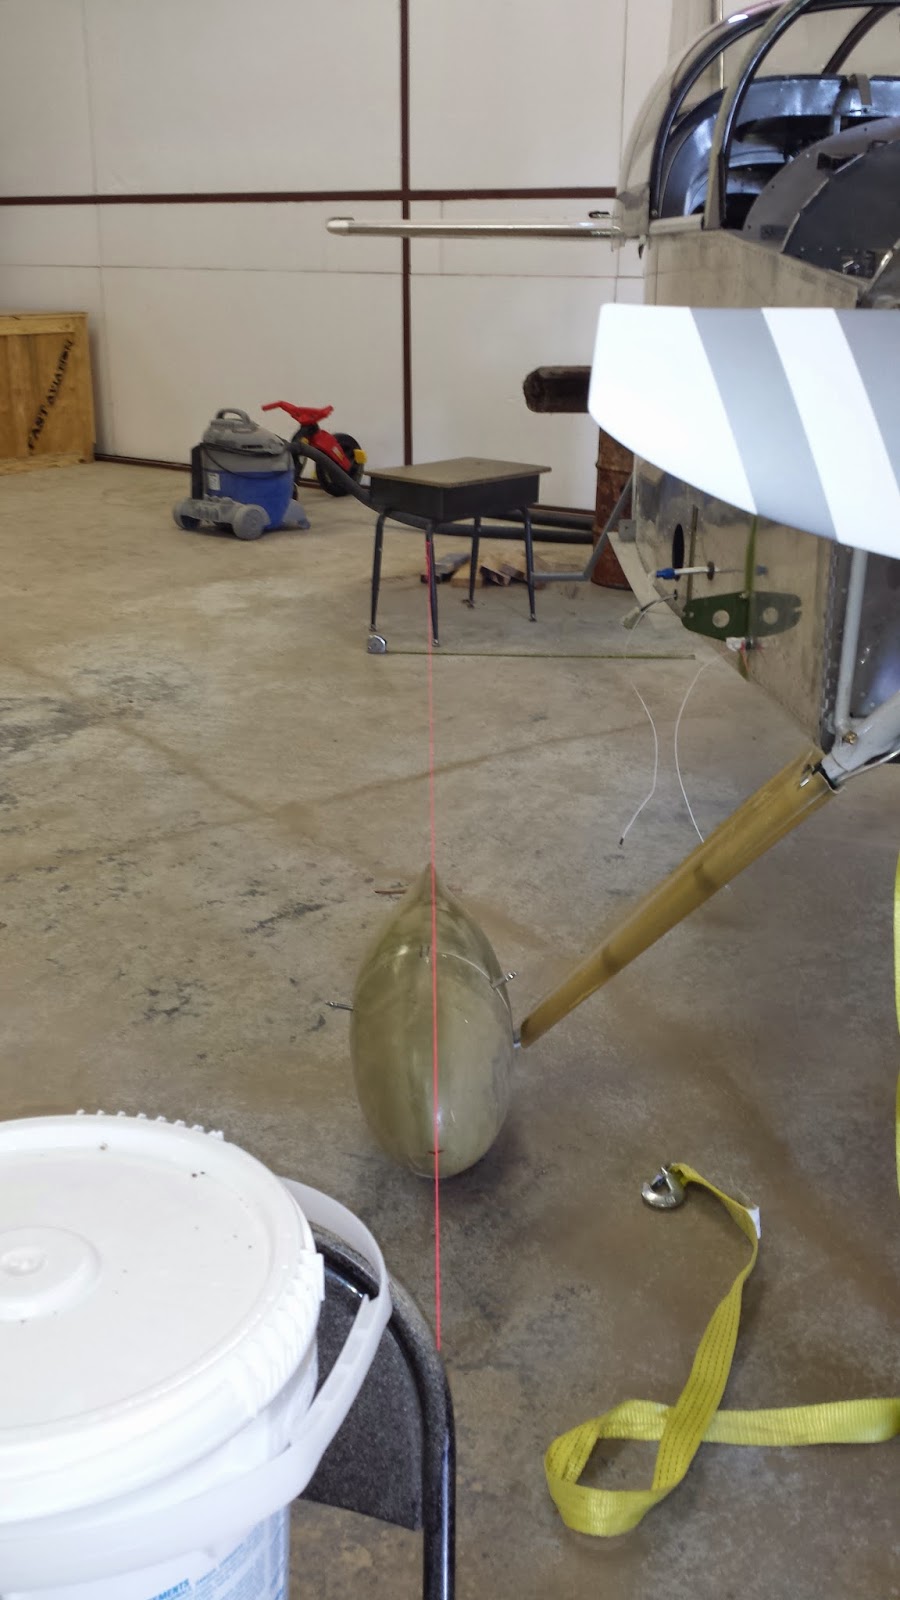
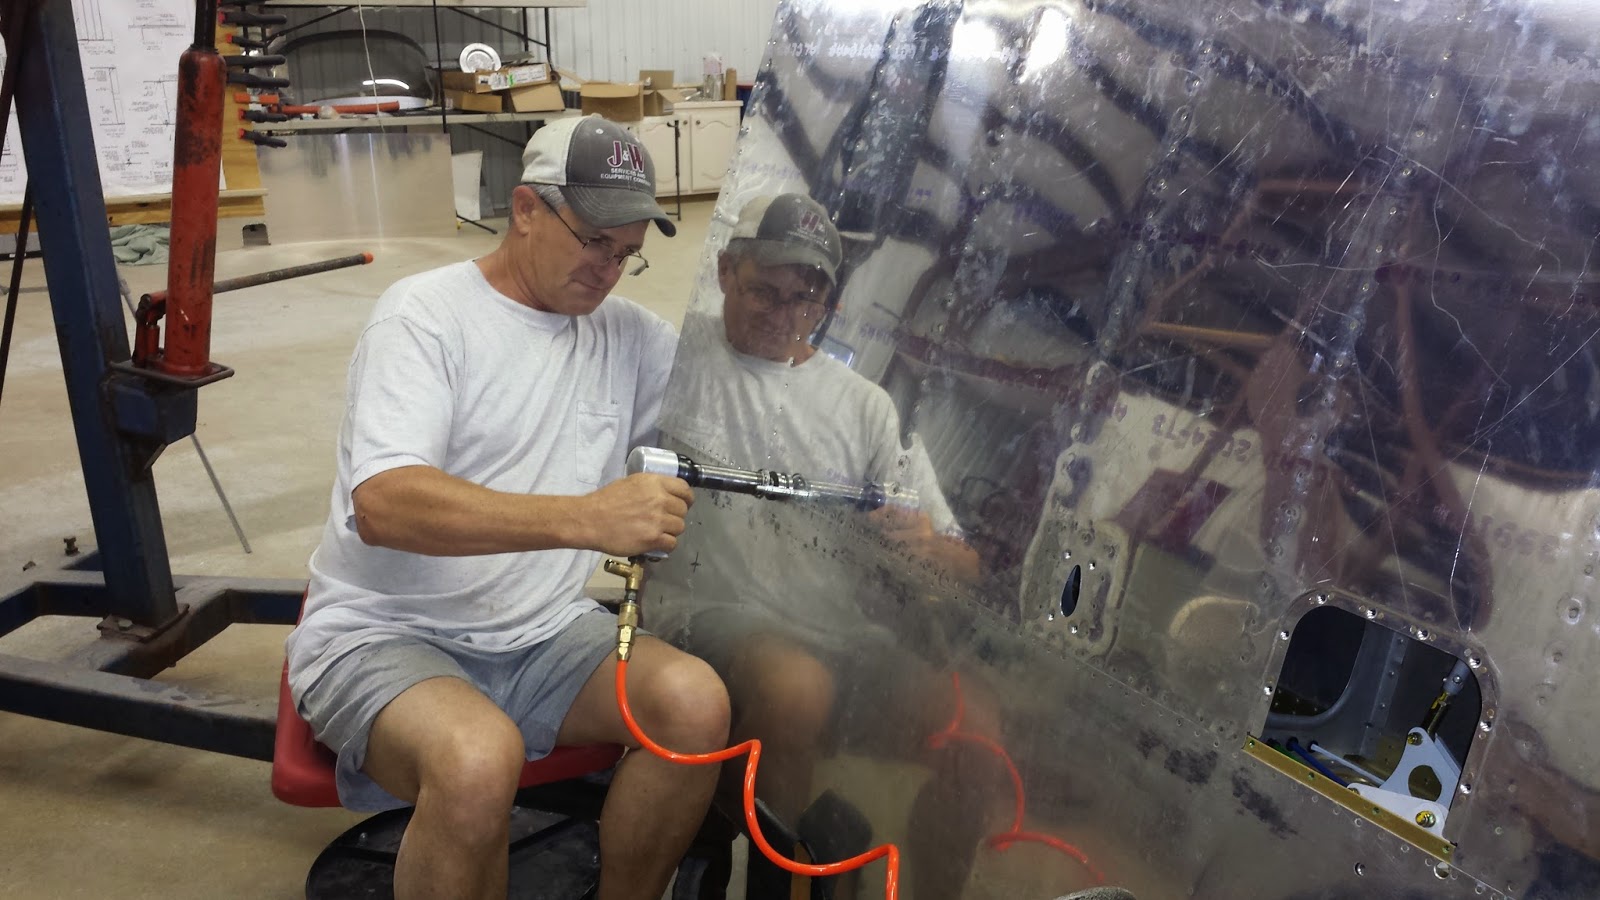
Hours 100
Total Hours 1144
Well, I accomplished a lot during this building session but didn't get as far along as I would have liked. I actually worked on the plane a total of about 100 hrs in all. I did get some things finished that I have been working on all summer long. I finished the baffles! Actually I still need to seal the gaps with silicone but that will take no time at all (where have I heard that before!) The engine is wired, the sensors working, all hoses and wires secured (less three clamps I had to order), alternate air cable finished, mags timed, and blast tubes finished to the alternator and both mags. I completed the oil door on the cowl and finished shaping the slick cowl bottom but I still have a lot of work to do on the cowl as far as finishing it for paint. I permanently mounted the prop and finished my screw less spinner.
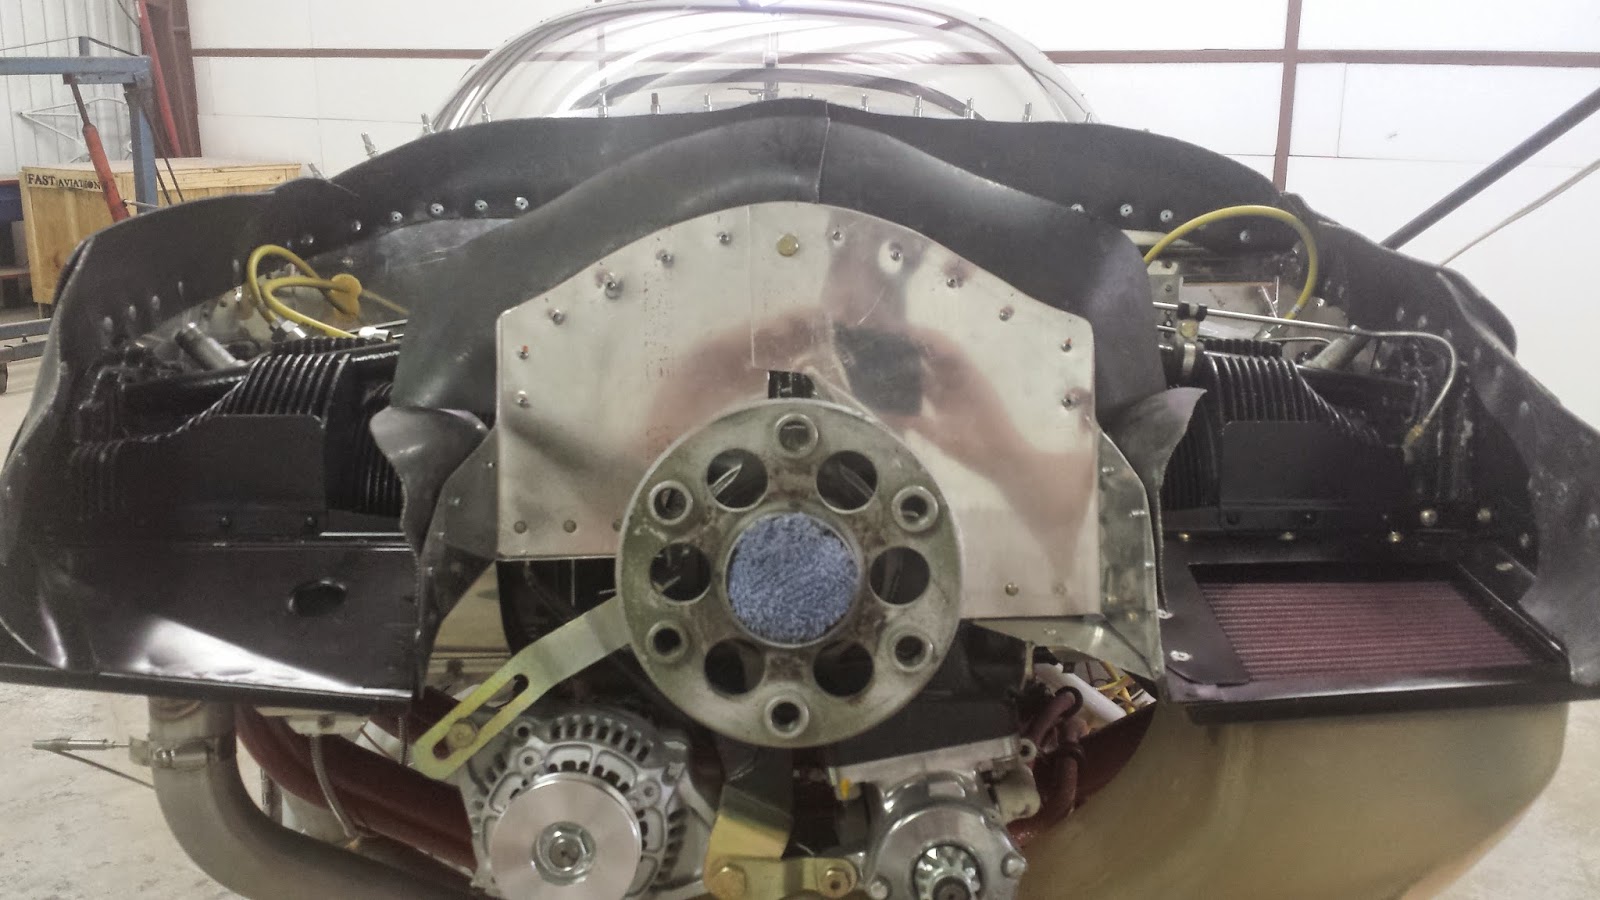
The first thing I did was disassemble the front ramps and paint them black. I wanted to see black when I looked through the front of the cowl, not those beat up scratched up ramps that I have been fighting with all summer. Then I attached the seals with pull rivets. Then I made the two seals that get bolted onto the cowl (not pictured).
Next came the threaded stainless steel rods that secure the baffles underneath. I had bought a cheap tap and die set from Auto Zone and when I tried to thread the first pin with 6/32 threads the die just crumbled! So then I got on EBay and bought a Snap On 6/32 die for 5 bucks. When I got it in the mail, I got to it and the Snap On die cut the hard stainless rod great! Dont try to thread these rods with a cheap die! I ground off one side of the washers so they would set flat against the flange and installed the tiny lock nuts.
I riveted the doubler to the rear spinner bulkhead and torqued the bolts.
I mounted the prop and torqued the prop bolts to 70 ft/lbs as per the Hartzell installation manual. Then I safety wired the bolts. I had been worrying about this job for months because I didn't have a special crows foot to work with the torque wrench. My solution was this...........
A good quality open end wrench, a bolt with a washer and nut made up on it, and a torque wrench. I used this formula to calculate the needed torque to equal the 70 ft/lbs because of the added leverage of the open end wrench......
Then I double checked this against two other torque wrenches I had without the extension on a bolt and nut I torqued in a vise where I didn't need the open end wrench extension. The calculation was surprisingly accurate. Of coarse, I read about how to do this on Vans Air Force, I would have never been able to build this plane without VAF. I really applaud those who built these planes before the internet came along!
Next I installed the front bulkhead, torqued and safety wired the bolts.
Because I am installing a screwless spinner, the front bulkhead/spinner fit has to be very close tolerance to prevent any wobble in the spinner. Normally screws secure the spinner to the front bulkhead. I applied a couple of coats of PVA and wax to the inside of the spinner then applied a thick bead of pro-seal to the bulkhead. Then I installed the spinner and screwed it on tight.
Installing the spinner screws, I got to try out my special little short
stubby screwdriver I bought a Oshkosh! What a wonderful little tool
addition! I don't know how many times I could have used this little screwdriver in the past! The proseal sealed any gaps between the spinner and bulkhead. I left it three days and then pulled the spinner off. I was pretty tight but tapping on the bead lightly caused the bulkhead to turn loose finally. I read about how to build the screwless spinner on, you guessed it, VAF.
Next was the oil door fabrication. I had been studying on this for months. I had to grind a little of the honey comb portion of the cowl away in order to make the "hidden hinge" from Avery Tools work.
Then I layed up some fiberglass over the honeycomb area as it was very thin and it needs to be very strong as the hinge will be attached here.
Then I drilled the hinge to the door and cowl. I also drilled and fitted the camloc latch I had purchased. The fiberglass door is very flimsy and I had read of the door popping open during flight because of the pressure being exerted from the bottom inside the cowl. I knew I needed to beef the door up to prevent this so I fabricated a temporary flange out of thin aluminum about 3/4" high. The aluminum still had the protective plastic film on it. I super glued this to the door then layed up a flox fillet in the bottom corner. In the pic above, the door was taped in place with packaging tape.
Then I layed up about 6 ply of 8 oz cloth. This was tedious as I new I couldnt get any epoxy on the outside of the flange.
After that cured I peeled off the aluminum and trimmed up the flange. Then I clecoed it in after I taped the door the best I could and then put on PVA and wax on the very edge of the door. Then I mixed up a batch of micro and worked it in the gaps.
After it cured, I was able to sand all of it flat and tap the door loose. I then sanded enough off the door to give a credit card gap all around to allow for paint. This is after I riveted it all together.
This is the finished product! I am very pleased at how this turned out! The door is very stiff. I am thrilled about the new skills I have learned with fiberglass! I have all kinds of fun fiberglass projects planned after this plane is finished. I would have never learned these skills if it wasn't for building this plane!....
The only drawback to the camlock is, when you press down to release the latch, the door will not come open unless you catch your finger inside the hole and release the pressure on the door while keeping the camlock button down. Maybe after the spring wears down it will release a little easier.
Next I taped the area where my hinge pin covers will be. Then I layed up enough cloth to fabricate a teardrop shaped hinge pin cover. My goal is for it to look like this...
Not sure who plane belongs to, but I really like the low profile, clean look of the small cover. And, how about that beautiful screw less spinner! Well, I will work on these later after the fiberglass cures, now its time to get back to the engine.
No pictures of my adventure timing the two Bendix mags. I purchased a mag synchronizer from ACS and watched all the EAA "hints for home builders" videos about mag timing. First I wanted to make sure the new flywheel I had purchased for my engine was marked correctly at TDC (top dead center of the number 1 piston). I pulled all the bottom plugs and installed a aluminum piston stop pin I purchased in the #1 cylinder. It screws into the spark plug hole. I rotated the prop until the piston bumped into the stop pin. I marked that spot on the flywheel in relation to the mark on my starter. Then I reversed the prop until the piston bumped again and marked that spot. Then I counted the marks between the teeth and sure enough, the TDC mark on the flywheel was perfectly between the two marks I had made. The flywheel also had a 25 deg mark before TDC, that is where I want my mags to fire. I made sure the synchronizer was hooked up right to the mags. The left mag needed just a little adjustment and it was set. The light comes on on the box as soon as the mag fires. The right mag was a different story. I worked for several hours and just couldn't get it to fire at the right time. When I had removed the mags months ago, I must have got the gears out of time. After fooling with it for way to long, I looked up on the internet how the Bendix mag is set for installation at TDC. You remove the little plug on top of the mag and turn the gear until you see a red mark on the white gear inside looking up straight at you. Then I made sure the engine was on TDC of the compression stroke and installed the mag back on the accessory case. BINGO! After a little adjustment I had both mags firing at exactly 25 deg before TDC. Then I hooked up the plugs to the harness and watched both plugs fire at once just to confirm I hadn't screwed up somewhere. This took way longer than I expected but I'm glad I learned how to do it so I can check the timing whenever I please in the future.

I turned my attention to hooking up all the wiring on my engine. Routing plug wires and sensor wires and getting them all clamped up. This was very frustrating trying to route everything just right but I believe I have it done. The adel clamps are a challenge, especially when getting two made up together but I tried to take my time. I am missing three clamps on this side that I had to order. Also shown here is the heat muffler ducting installed.
The left side after installing the alternate air door cable and all the clamps. The sensor wires are routed along alternate air door cable. I had to build a few custom standoffs for fuel lines and cable supports. I am missing a couple of clamps on this side that is ordered. All my EGT and CHT temps all said 72 degrees on the Skyview so I assume they are working.
I also completed the oil cooler install with the bolts I ordered, also shown here is my GPS antenna mounted and blast tubes for the magnetos. I safety wired the oil filter and oil temp sender.
I fabricated and installed a brace for the oil cooler and baffles from stainless tubing. This will help prevent the baffles from cracking in this area as I learned they are prone to do. (VAF)
My Plane Power alternator installation instructions said to provide a 1" blast tube to cool the alternator. I found this PVC tubing that will slide into the 1" scat tubing and built a steel bracket on the end that will support the outlet and tubing. The black tubing was plugged and clamp holds it tight. The steel end bolts onto the engine block and the air will blow thru the rectangle opening onto the built in voltage regulator on the back of the alternator. this took a lot of head scratchin to come up with.
Looking up underneath after it is mounted. I also drilled a small hole in the bottom of the tubing so water can drain out. The scat tubing is clamped on the ramp flange and PVC tubing with safety wire.
Thats all the progress for September. I hope to finish the cowl, install the new Grove brakes and Wheels I have purchased, and get a good start on the wheel pants and landing fear fairings next month.